
The purpose of this tutorial is to help you get started with OpenTelemetry and Cloud Observability using the OpenTelemetry Demo to see data in Cloud Observability quickly.
We will be using a modified version of the OpenTelemetry Demo repo. This repo has been modified to demonstrate how to send data to Cloud Observability using the OpenTelemetry Collector.
Pre-Requisites
- Docker and Docker Compose
- A Cloud Observability account.
- A Cloud Observability access token for the Cloud Observability project you would like to use.
Running the OpenTelemetry Demo App
-
Clone the repo
1
 git clone https://github.com/lightstep/opentelemetry-demo.git
-
Edit the OpenTelemetry Collector Config file.
This file allows you to configure the OpenTelemetry Collector with your own Observability back-end. This case, otelcol-config-extras.yml is already configured to use Cloud Observability as the back-end. All you need to do is add your Cloud Observability access token to the file, to be able to send traces to Cloud Observability.
1
 cd opentelemetry-demo
Open
src/otelcollector/otelcol-config-extras.ymlfor editing using your favourite editor. The file looks like this:1 2 3 4 5 6 7 8 9 10 11 12 13 14 15 16 17 18 19 20 21 22
# extra settings to be merged into OpenTelemetry Collector configuration # do not delete this file exporters: logging: logLevel: debug otlp/ls: endpoint: ingest.lightstep.com:443 # US data center # endpoint: ingest.eu.lightstep.com:443 # EU data center headers: "lightstep-access-token": "<lightstep_access_token>" service: pipelines: traces: receivers: [otlp] processors: [batch] exporters: [logging, otlp/ls] metrics: receivers: [otlp] processors: [batch] exporters: [logging, otlp/ls]
Replace
<lightstep_access_token>with your own Cloud Observability access token[], and save the file. The access token tells what Cloud Observability project to send your telemetry data to. -
Launch the sample app
If you’re not already in the repo root:
1
 cd opentelemetry-demo/
Run Docker compose. If you’re on an x86-64 machine (i.e. Intel or AMD-based, non-Apple Silicon), run the command below. If you’re running the Demo App for the first time, it will download all of the Docker images first. This may take several minutes.
1
 docker compose up --no-build
If you’re on an Apple Silicon machine, you will need to build all images from source using the command below, as the images hosted in the GitHub Container Registry (GHCR) are built and optimized for x86-64 machines. This can take upwards of 20 minutes.
1
2
 docker compose build
 docker compose up
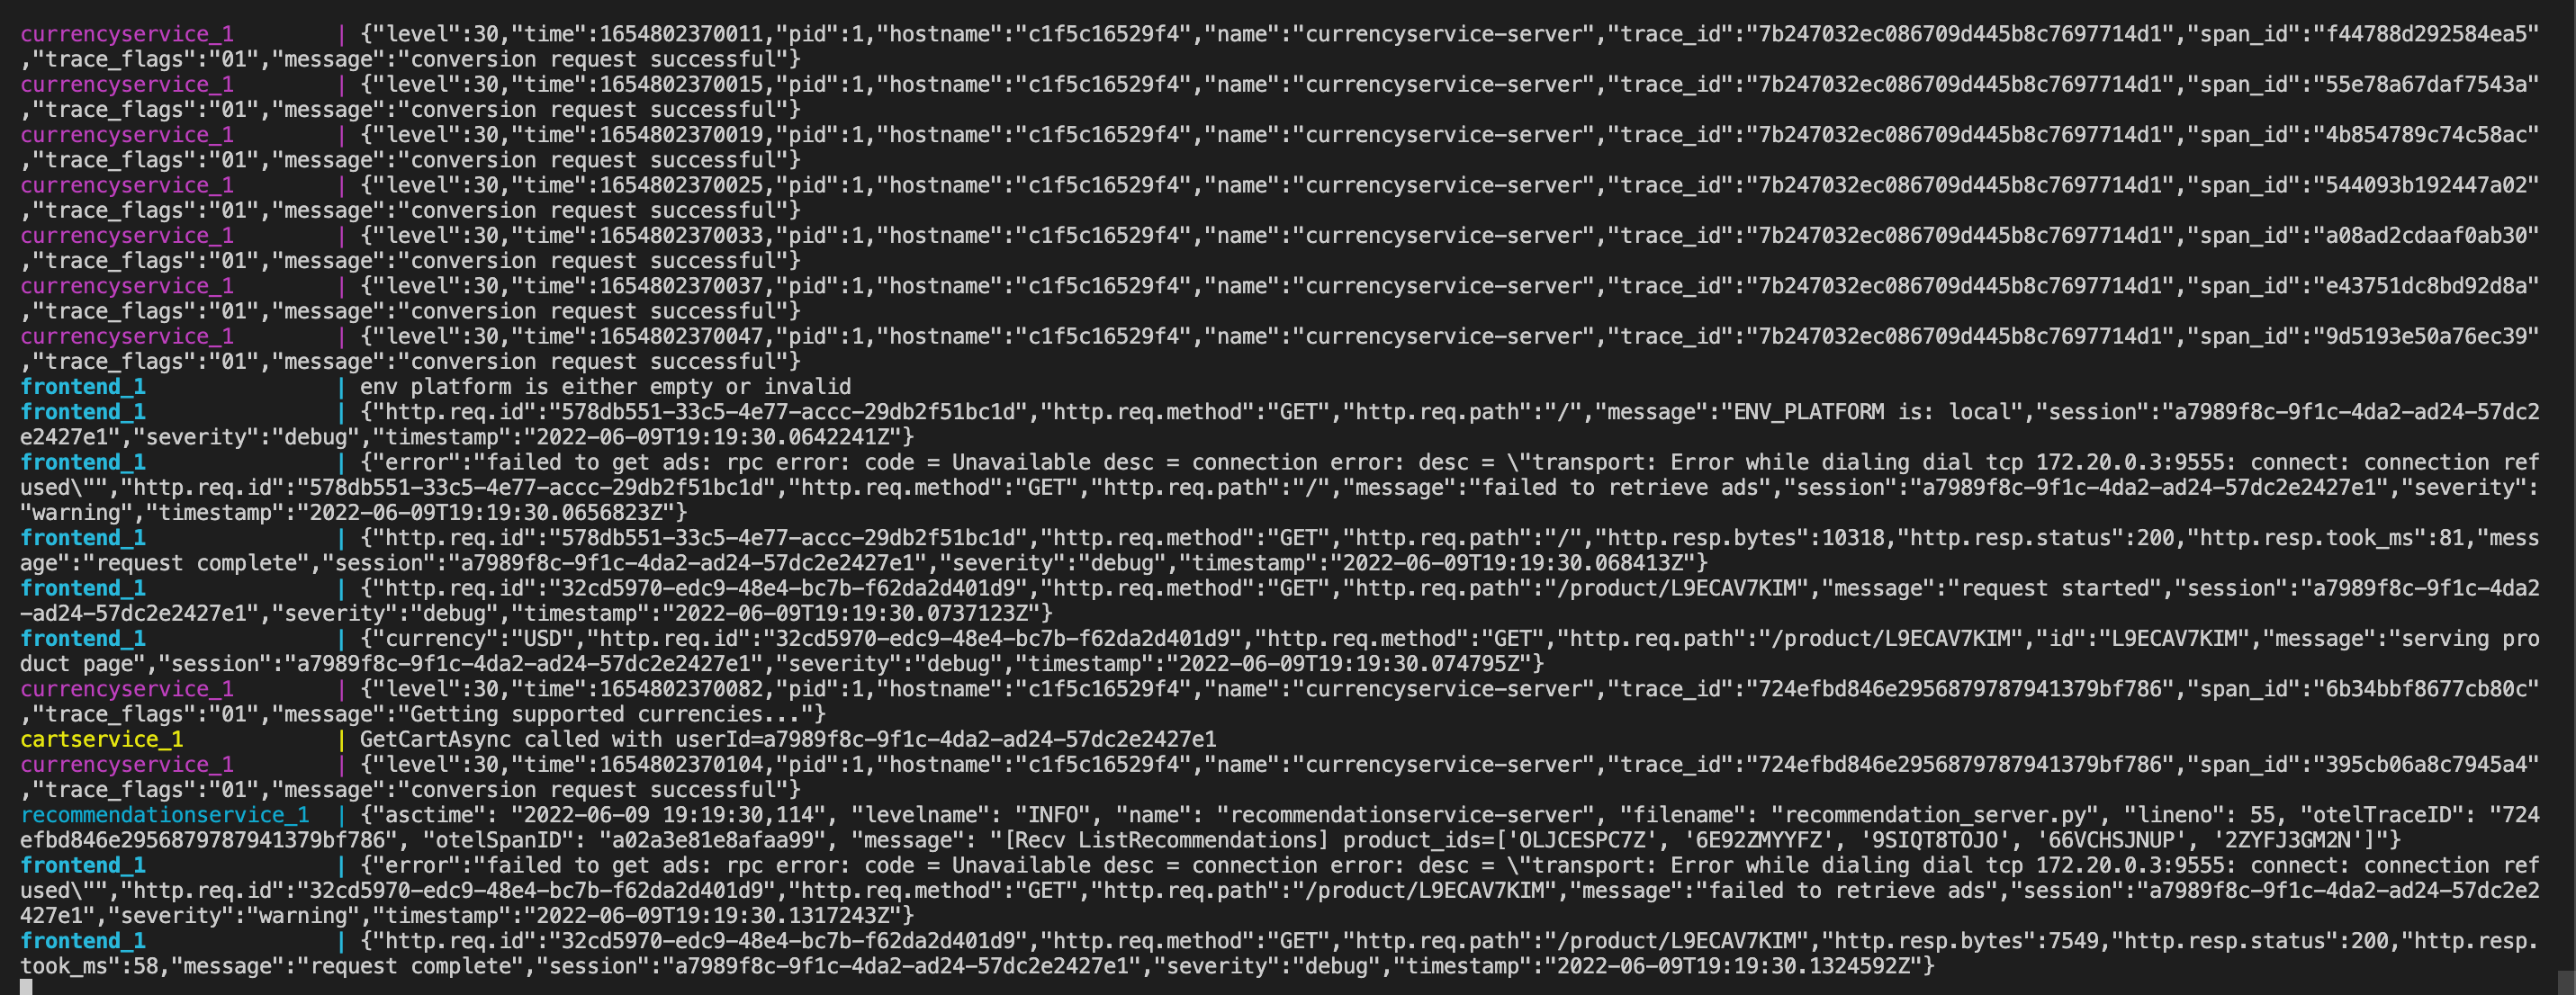
Once the app is up and running, you will see text continuously scrolling down the screen. This is expected. Sample output looks something like this:
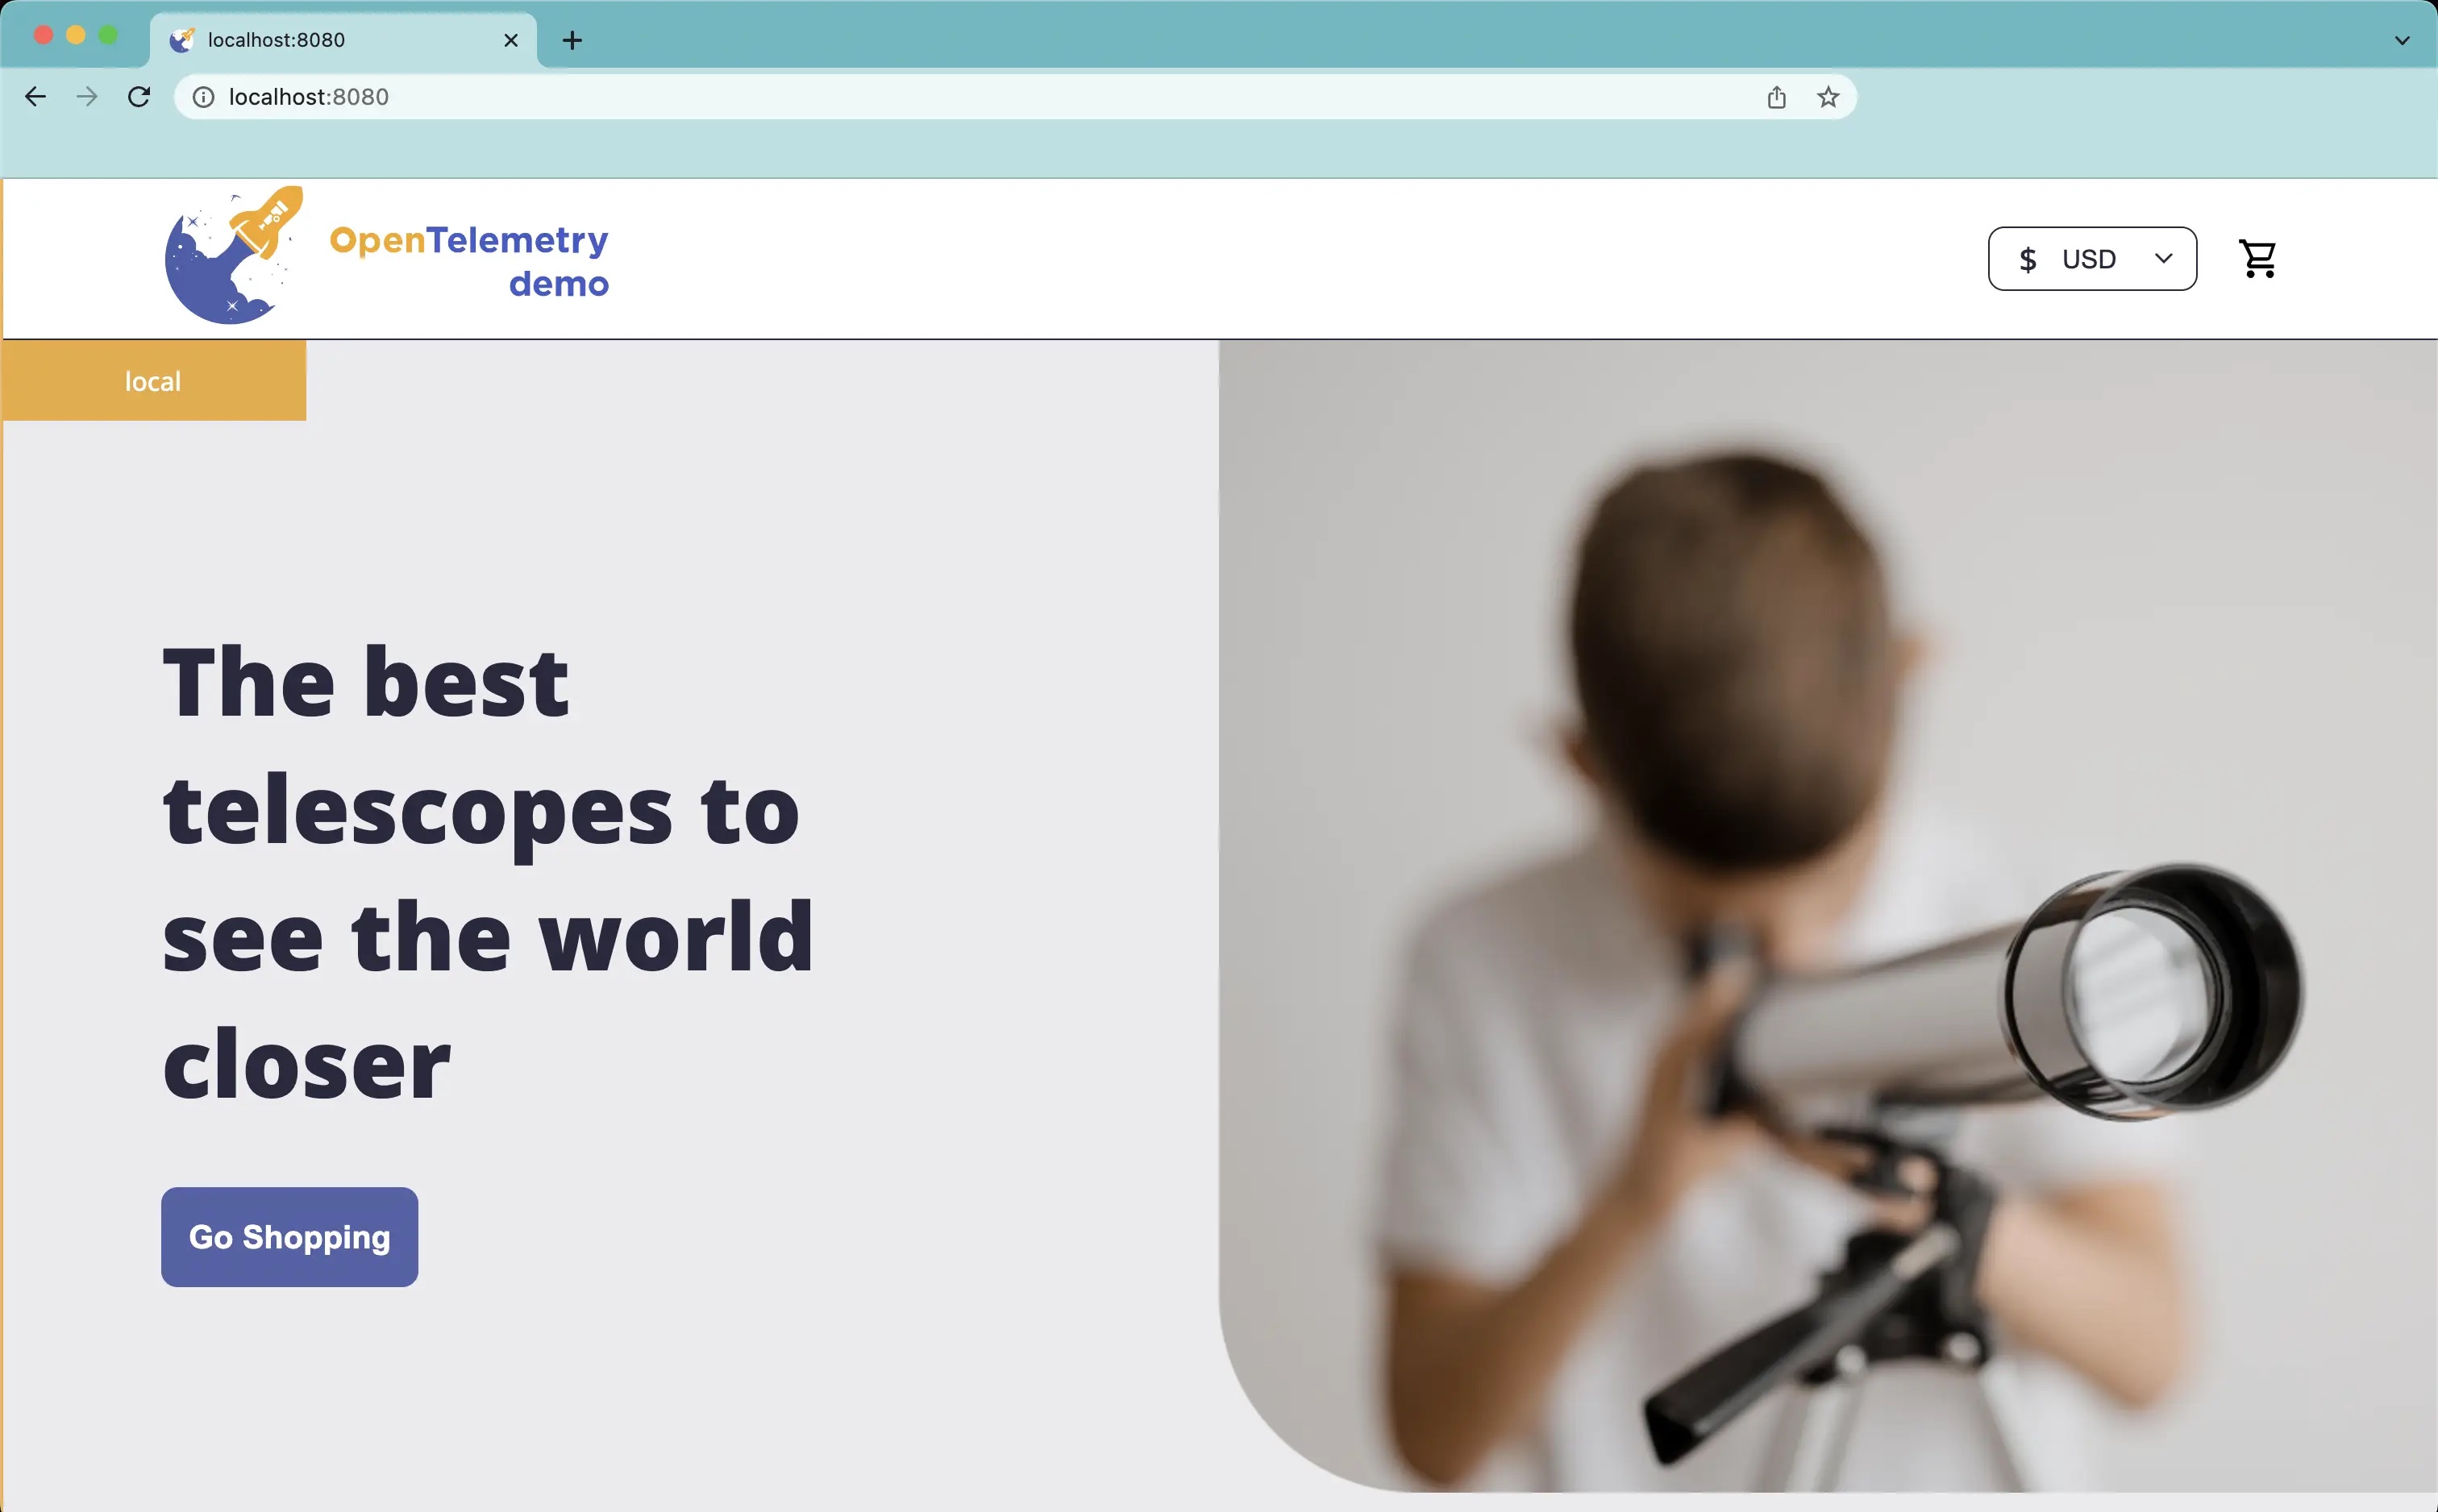
The Webstore app can now be accessed here: http://localhost:8080
-
See the Traces in Cloud Observability
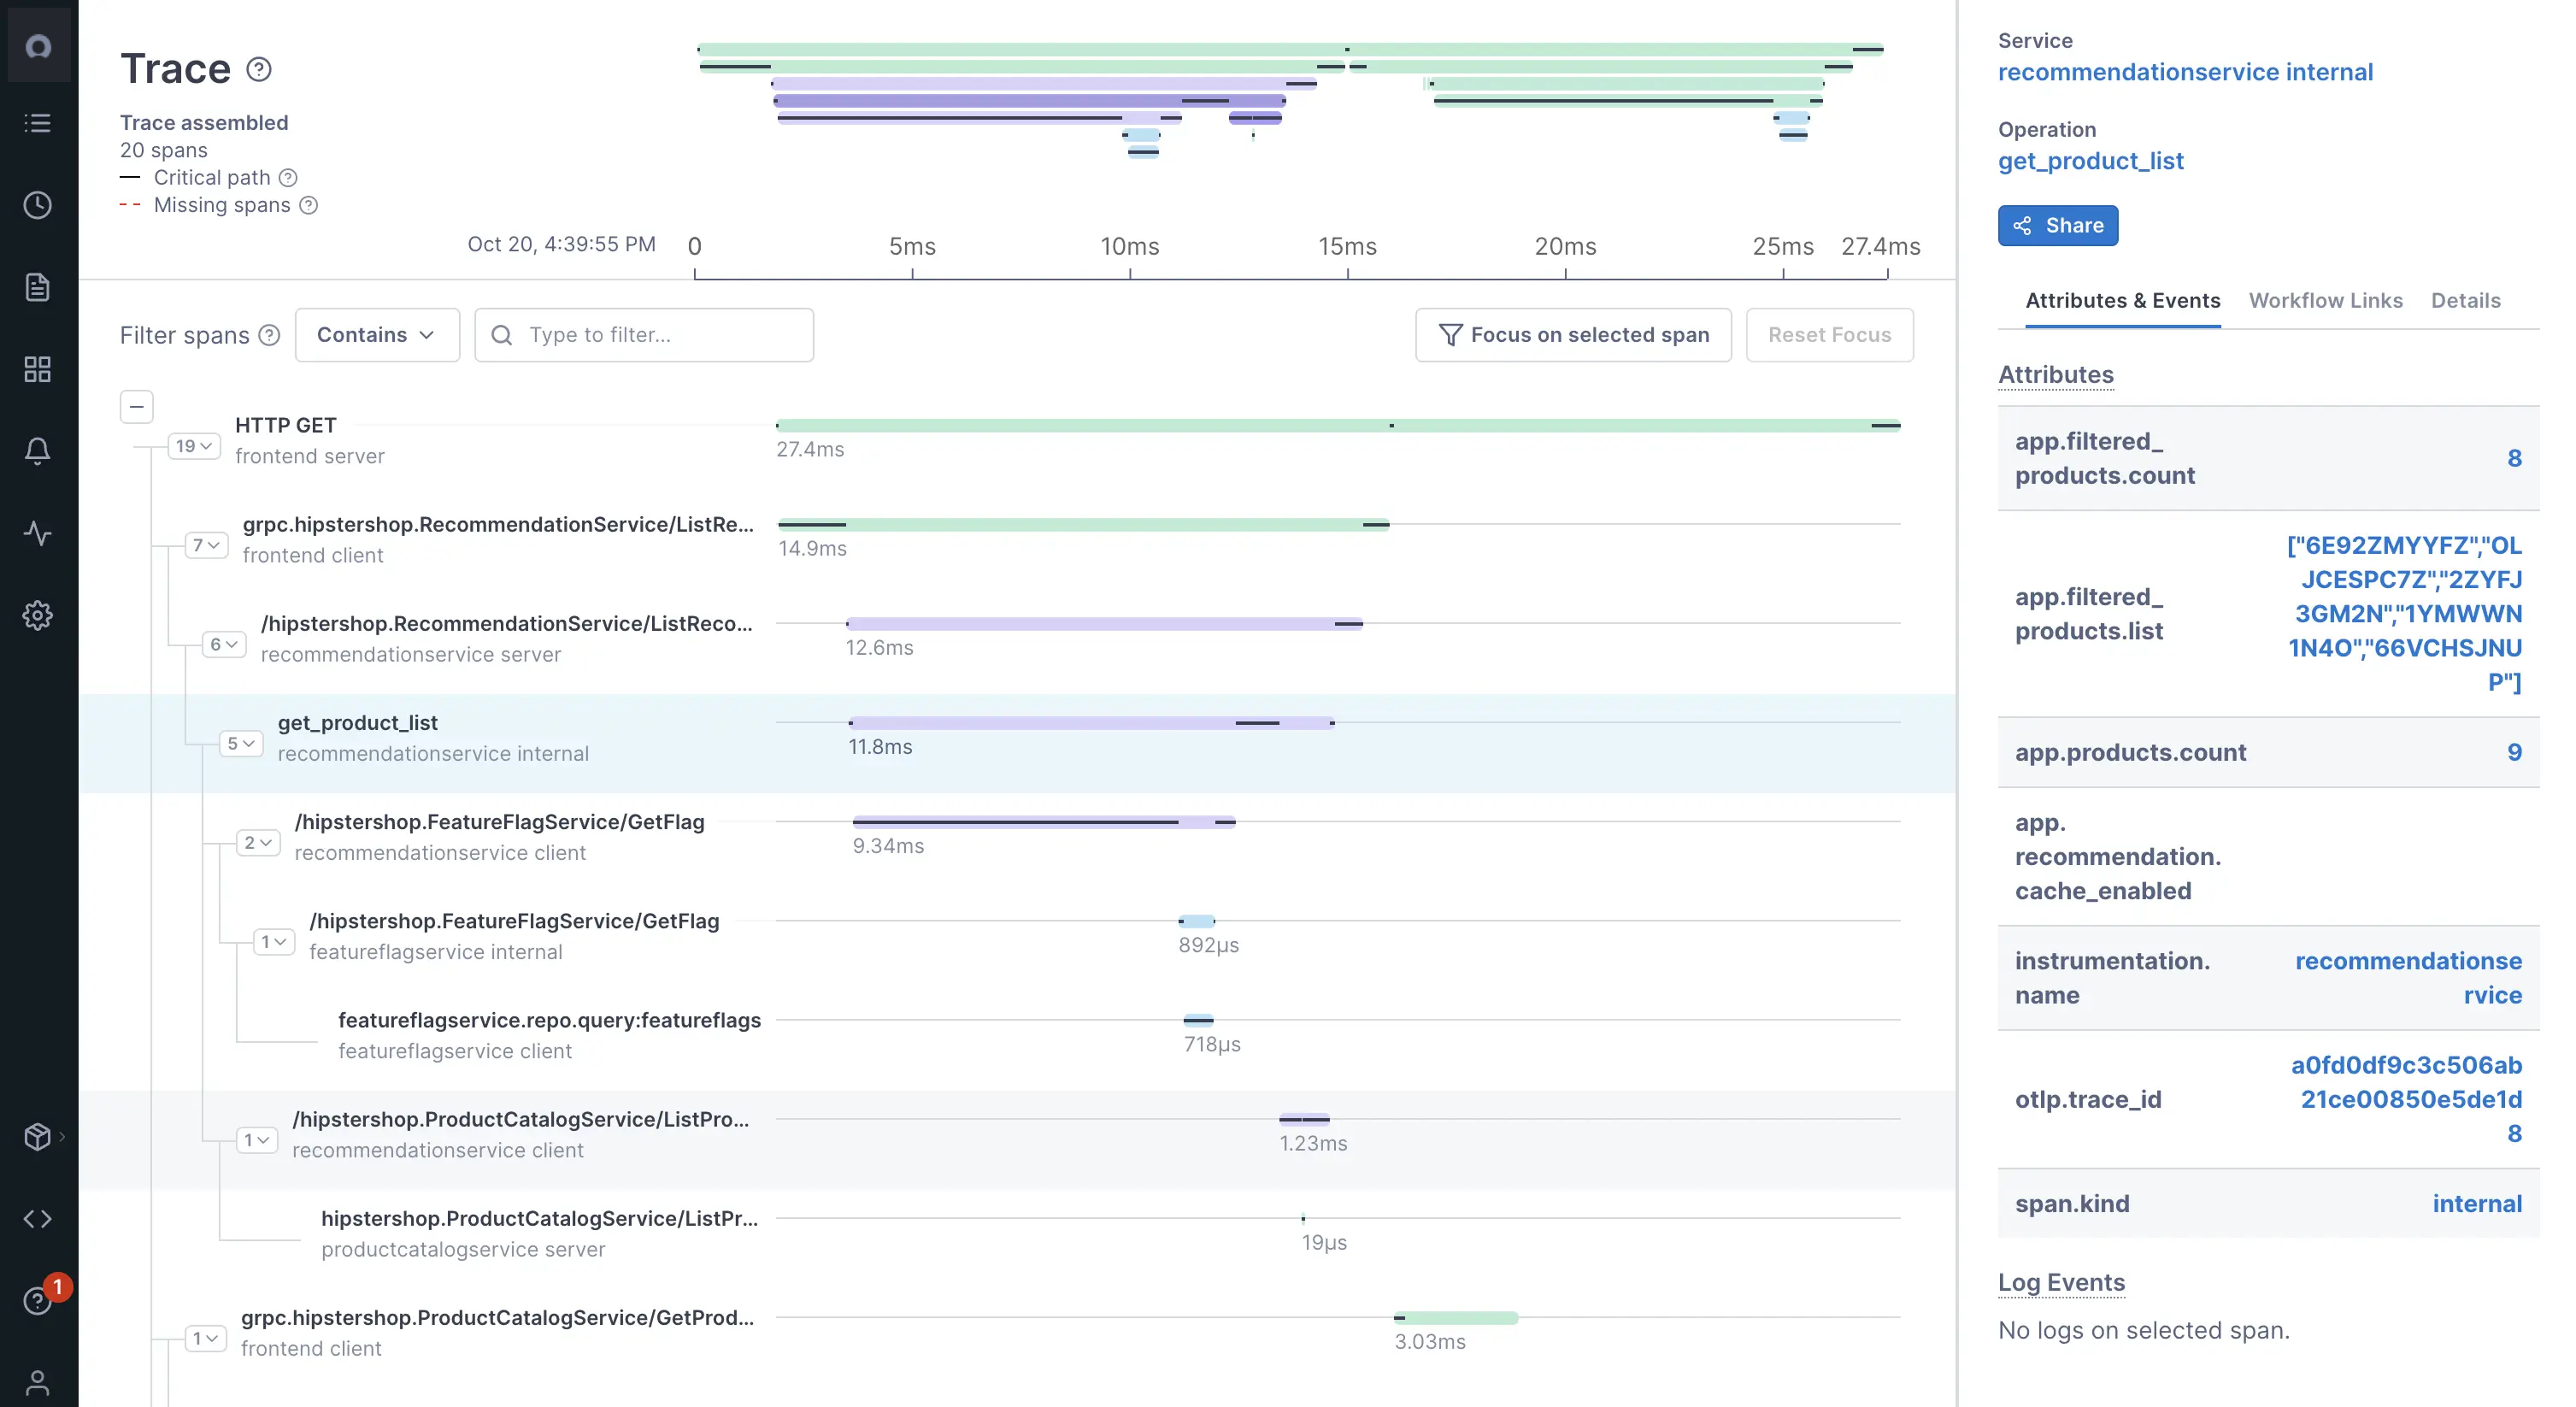
To view traces in your Cloud Observability project, check out Cloud Observability Notebooks.
See also
Use the OpenTelemetry Collector
Quickstart: Collector for application data using Docker
Updated Jun 10, 2022