
Map SAML attributes to Cloud Observability roles, centralizing user management in your identity provider (IdP).
Overview
With SAML group mapping, IdPs share SAML attributes with Cloud Observability. Cloud Observability then uses that information to automatically assign users to roles.
This guide uses Cloud Observability’s UI to set up SAML group mapping. You can also set it up with Cloud Observability’s Terraform provider.
Before you begin
Before completing the steps below, set up SSO and learn about the attributes in your IdP’s SAML assertion. For example, Okta sends the attributes defined in group attribute statements.
You must have administration permissions to complete this guide.
When you activate SAML group mapping, non-SSO users (users who log in with a username and password) keep their Cloud Observability role and access. To prevent unintended access and fully manage users in your IdP, complete step 3 on this page to convert non-SSO users to SSO users.
Step 1: Map SAML attributes to roles
Follow the steps below to assign Cloud Observability roles to specific attributes. Your changes won’t take effect until you activate SAML group mapping in step 2.
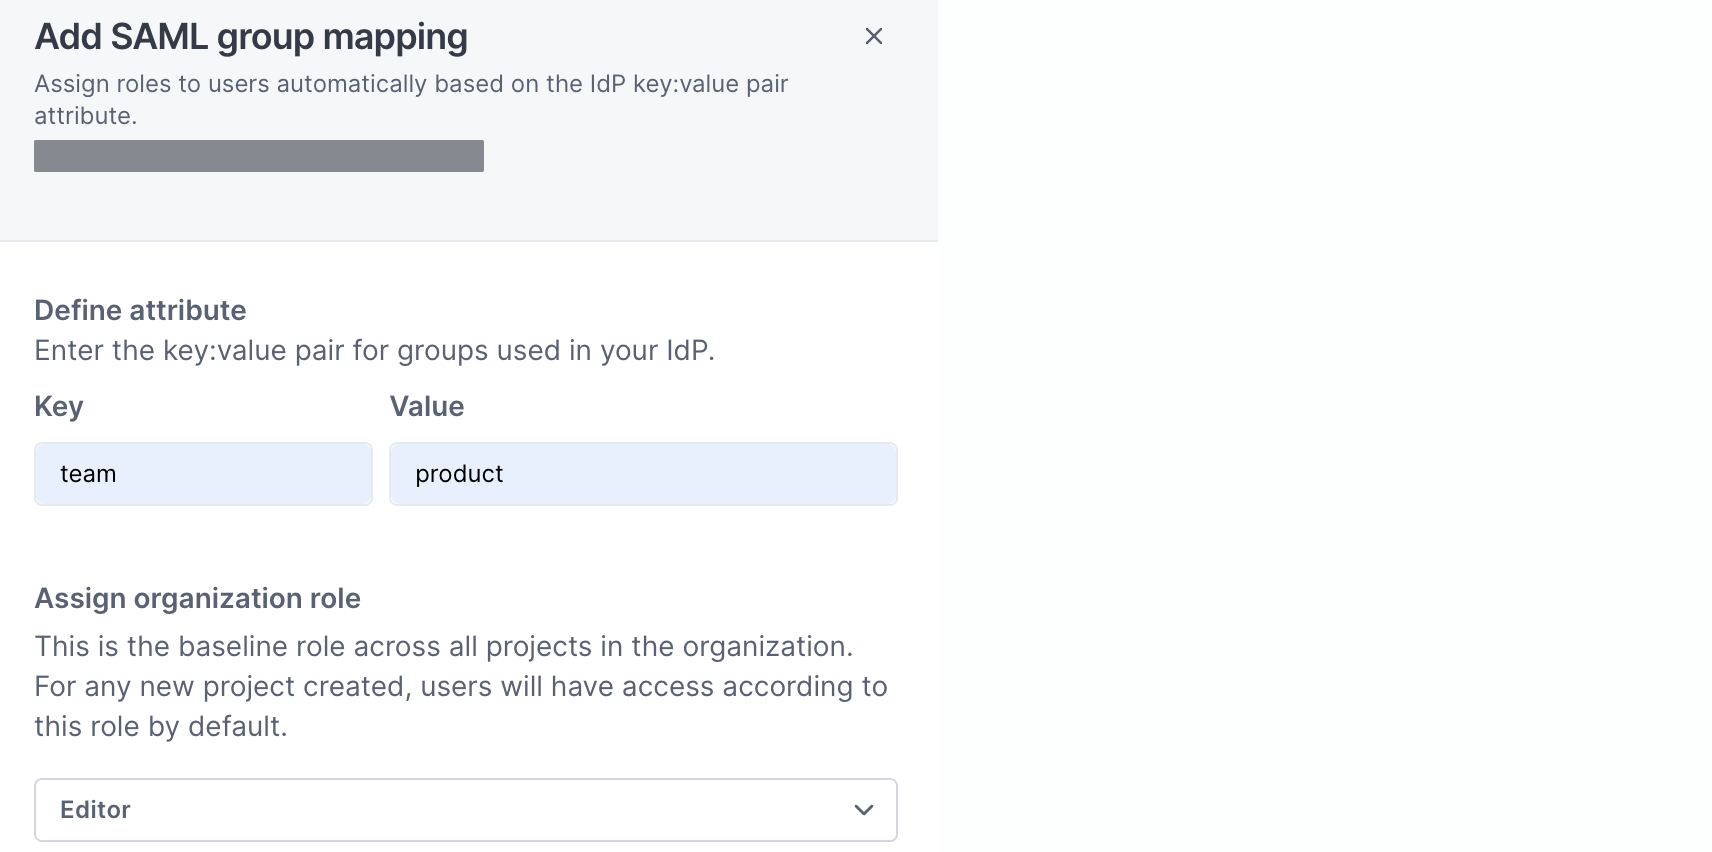
The steps show an example where Cloud Observability assigns the Organization Editor role to all users whose team attribute is product.
- In Cloud Observability, select Settings > User management > Additional settings.
- Select Start drafting your first mappings to open the Add SAML group mapping panel.
-
Fill out the Define attribute inputs:
- Key - Enter one of the attributes your IdP sends to Cloud Observability, for example,
team. - Value - Enter the attribute value you want to assign Cloud Observability roles to, for example,
product.
- Key - Enter one of the attributes your IdP sends to Cloud Observability, for example,
- Select Select an organization role to choose a Cloud Observability role for users with the key-value combination above.
For example, Editor gives the Organization Editor role to users whose
teamattribute isproduct. -
Select Add mapping to save your configuration and return to the Settings tab.
Cloud Observability displays <key> added to group mapping and shows the value and roles in the Mappings table.
- [Optional] Select Add mapping to create more mappings.
Step 2: Activate SAML group mapping
Activating SAML group mapping affects existing SSO users:
- Organization Admins (OAs) or users with a custom role based on the OA template - Users keep their current role.
- Non-OAs matching mappings - Users get the mapped roles when they next log in with SSO.
- Non-OAs not matching mappings - Users get the default role when they next log in with SSO.
Follow these steps to activate SAML group mapping in Cloud Observability:
- In Cloud Observability, select Settings > User management > Additional settings.
- Below SAML group mapping is OFF, select Turn on.
- In the Turn on SAML group mapping? dialog, enter
CONFIRMand select Turn on. -
In the Log out all users? dialog, you have two options:
- To log out all existing non-OAs, enter
CONFIRMand select Log out all users. - To keep all existing non-OAs logged in, select Skip for now. Those users keep their existing roles until they next log in with SSO.
- To log out all existing non-OAs, enter
Once you’re done, Cloud Observability shows SAML group mapping is ON, and you can fully manage users in your IdP. To see a user’s group in Cloud Observability, select the Users tab and view the Group column.
[Optional] Step 3: Convert non-SSO users
When SAML group mapping is on, non-SSO users can still log into Cloud Observability with their usernames and passwords. Those users may have incorrect or outdated access because you manage them in Cloud Observability, not your IdP.
Follow the steps below to convert non-SSO users to SSO users. These steps are optional. You may want to keep some non-SSO users, for example, contractors.
- In Cloud Observability, select Settings > User management > Users.
-
Next to a non-SSO user, select ⋮ > Convert to SSO user.
(Non-SSO users have Password in the Login type column.)
- In the dialog, select Confirm to only let the user log in with SSO.
Cloud Observability displays <email> converted to SSO user and returns you to the Users tab. Repeat steps 1-3 for all relevant non-SSO users.
See also
Roles and permissions reference
Updated Jan 22, 2024